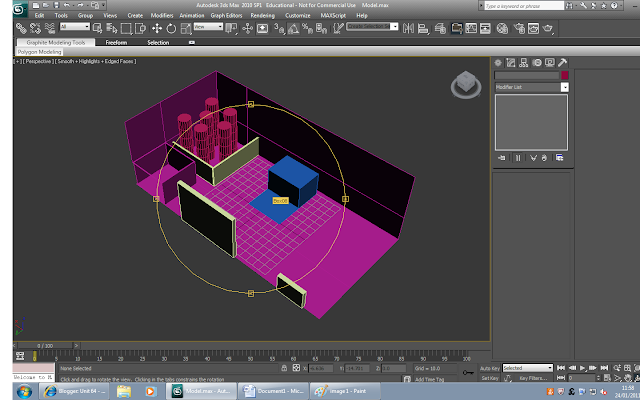
Now I added a number of other primitives. This is described in much more detail earlier on in my blog so I shall assume that the previous entries have been viewed before this one.
As you may notice above, I have added a boolean to a few of the objects such as the light blue "machine" and the room in the corner. A boolean basically removed a shape that is overlapping another shape and also cuts out any part of the shape the previously removed shape was touching. This can be used to create doors and gaps in objects. To boolean an object, firstly you must connect two shapes together; one shape being the one you want to stay in on the model (we will call this object A) and one that will be removed (Object B), taking a section of the remaining shape with it. Now, on the "Create" tab, you need to select "Compound Objects" from the dropdown box below and then select the "Boolean" box under object type. With object A selected, click the box "Pick operand B" and select object B. Object B should now have disappeared, taking part of A with it creating a hole in the object.
Now I started to add more details such as power generators and conveyor belts.
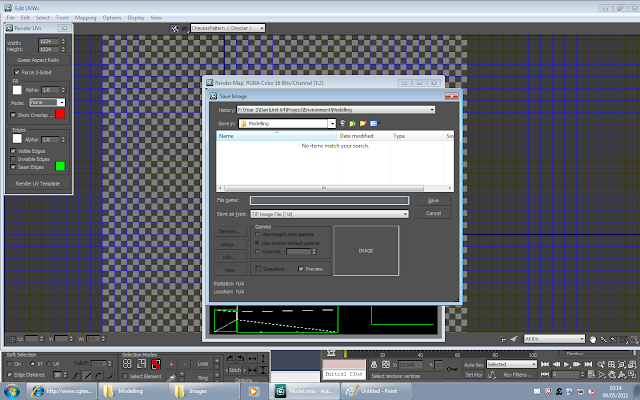
 The method used to UV Unwrap in previous blogs was then used. But to make this texturing a lot easier this time, I broke the model into parts and unwrapped them in smaller groups as opposed to unwrapping the whole thing. Firstly I unwrapped the walls, floor and ceiling, the power generators, the machine, sub walls and conveyor belt. As before, they were then all saved as a .tif file and textured using adobe photoshop.
After the textures were done, or I wanted to check how they looked, the file was saved and then applied to the model using the "material editor".
The textures I used were from the website cgtextures.com
This texturing method took me roughly 2 hours (including unwrapping) and finally the environment was finished as shown below.


No comments:
Post a Comment